You would think this is a good thing, but no, haha. It’s nice to know what your battery is actually at. While the tablet was logged in, I did this key combo, and that resolved it:
hold volume + and power button for 15 seconds and that should fix it.
You would think this is a good thing, but no, haha. It’s nice to know what your battery is actually at. While the tablet was logged in, I did this key combo, and that resolved it:
hold volume + and power button for 15 seconds and that should fix it.
I am using the nvidia settings to manage some color settings, and as of a recentish anniversary update for windows 10, it kept resetting every reboot. Luckily someone at Tom’sHardware found the resolution, which I am shamelessly posting here with source:
This issue is caused by the WindowsColorSystem scheduled task running at user logon. The NVIDIA driver hooks the user’s logon and then applies the settings, however, the Microsoft scheduled task that initializes the Windows Color System runs just after and loads the default color profile for the monitor (timing issue). Since I prefer to use the driver manufacturers’ control panels to manage my color settings, I disable the “Task Scheduler Library\Microsoft\Windows\WindowsColorSystem\Calibration Loader” task.
I was having issues with my older cisco switch not properly routing new vlans. I saw the interface was down, but the vlan interface existed, and it had an IP bound to it. When I would test ping I would get TTL expired in transit. So I would do something like this:
int vlan 55
ip add 192.168.55.1 255.255.255.0
no shut
But it would not ping or resolve! What I had to do was a
show ip int br
Saw that the vlan didn’t exist and went ran this:
conf t
vlan 55
Then everything started working. This was for an access port, not a trunk port as well. If you still have issues, try a clear arp-cache.
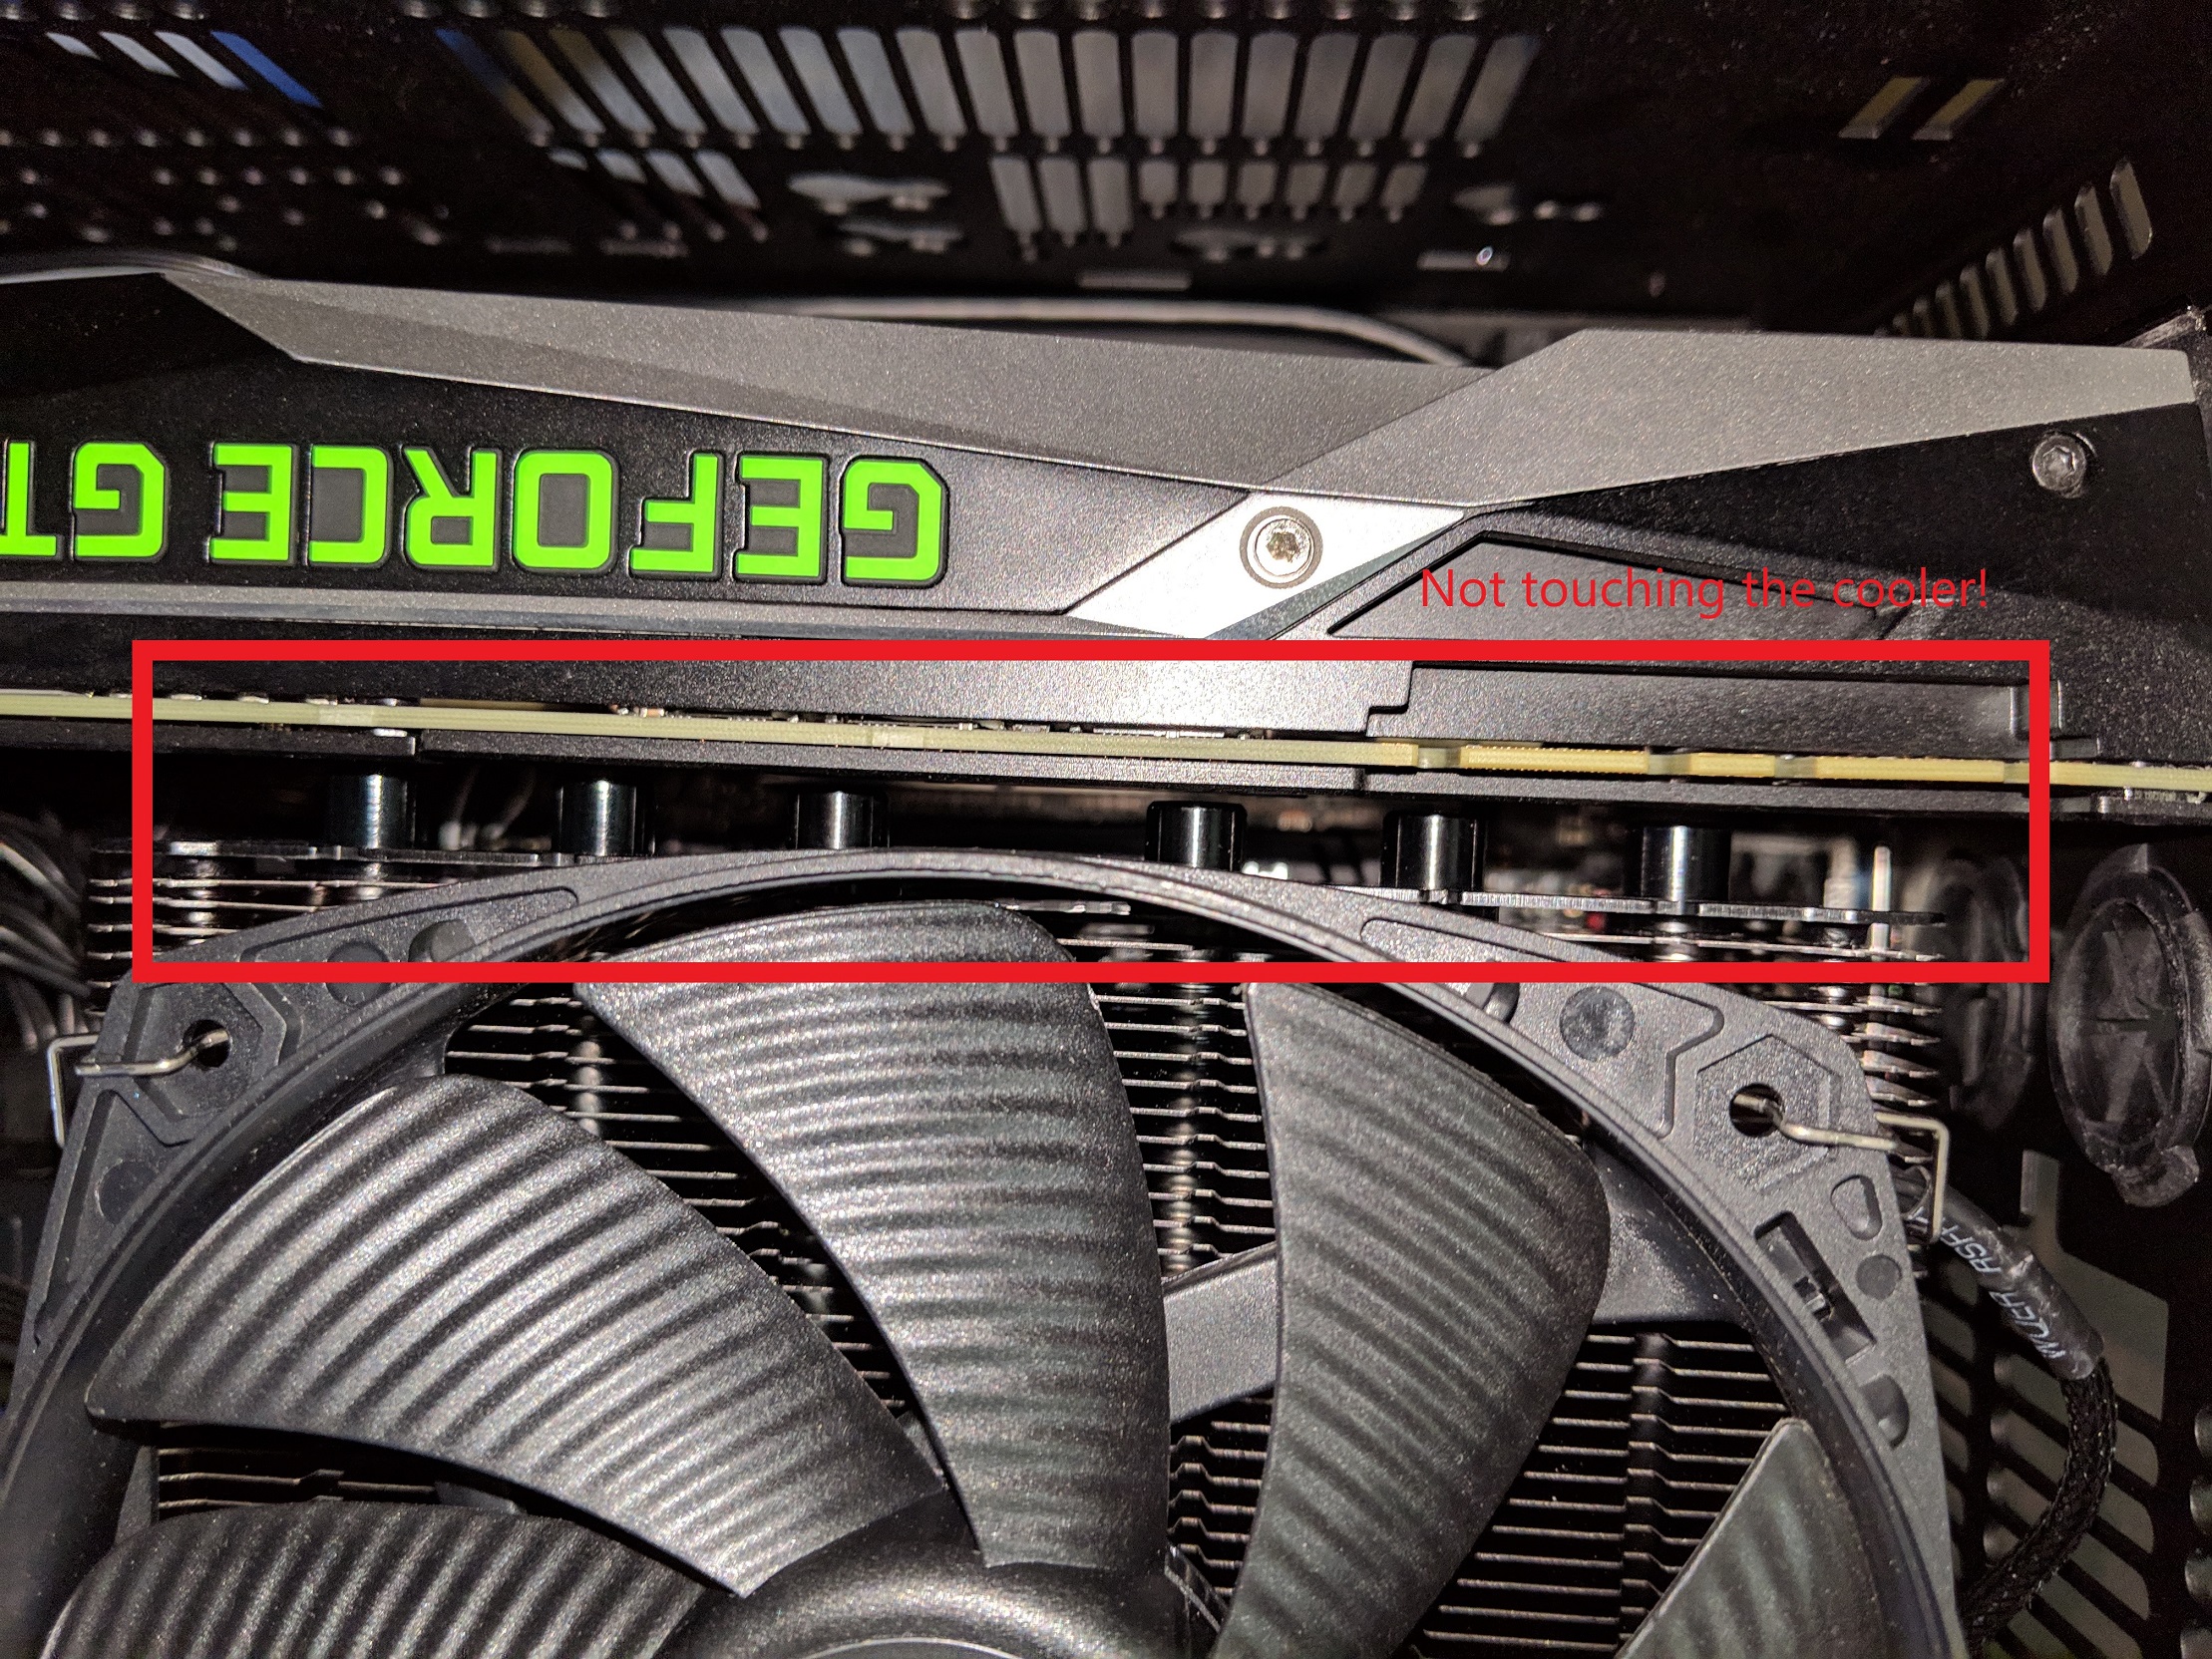
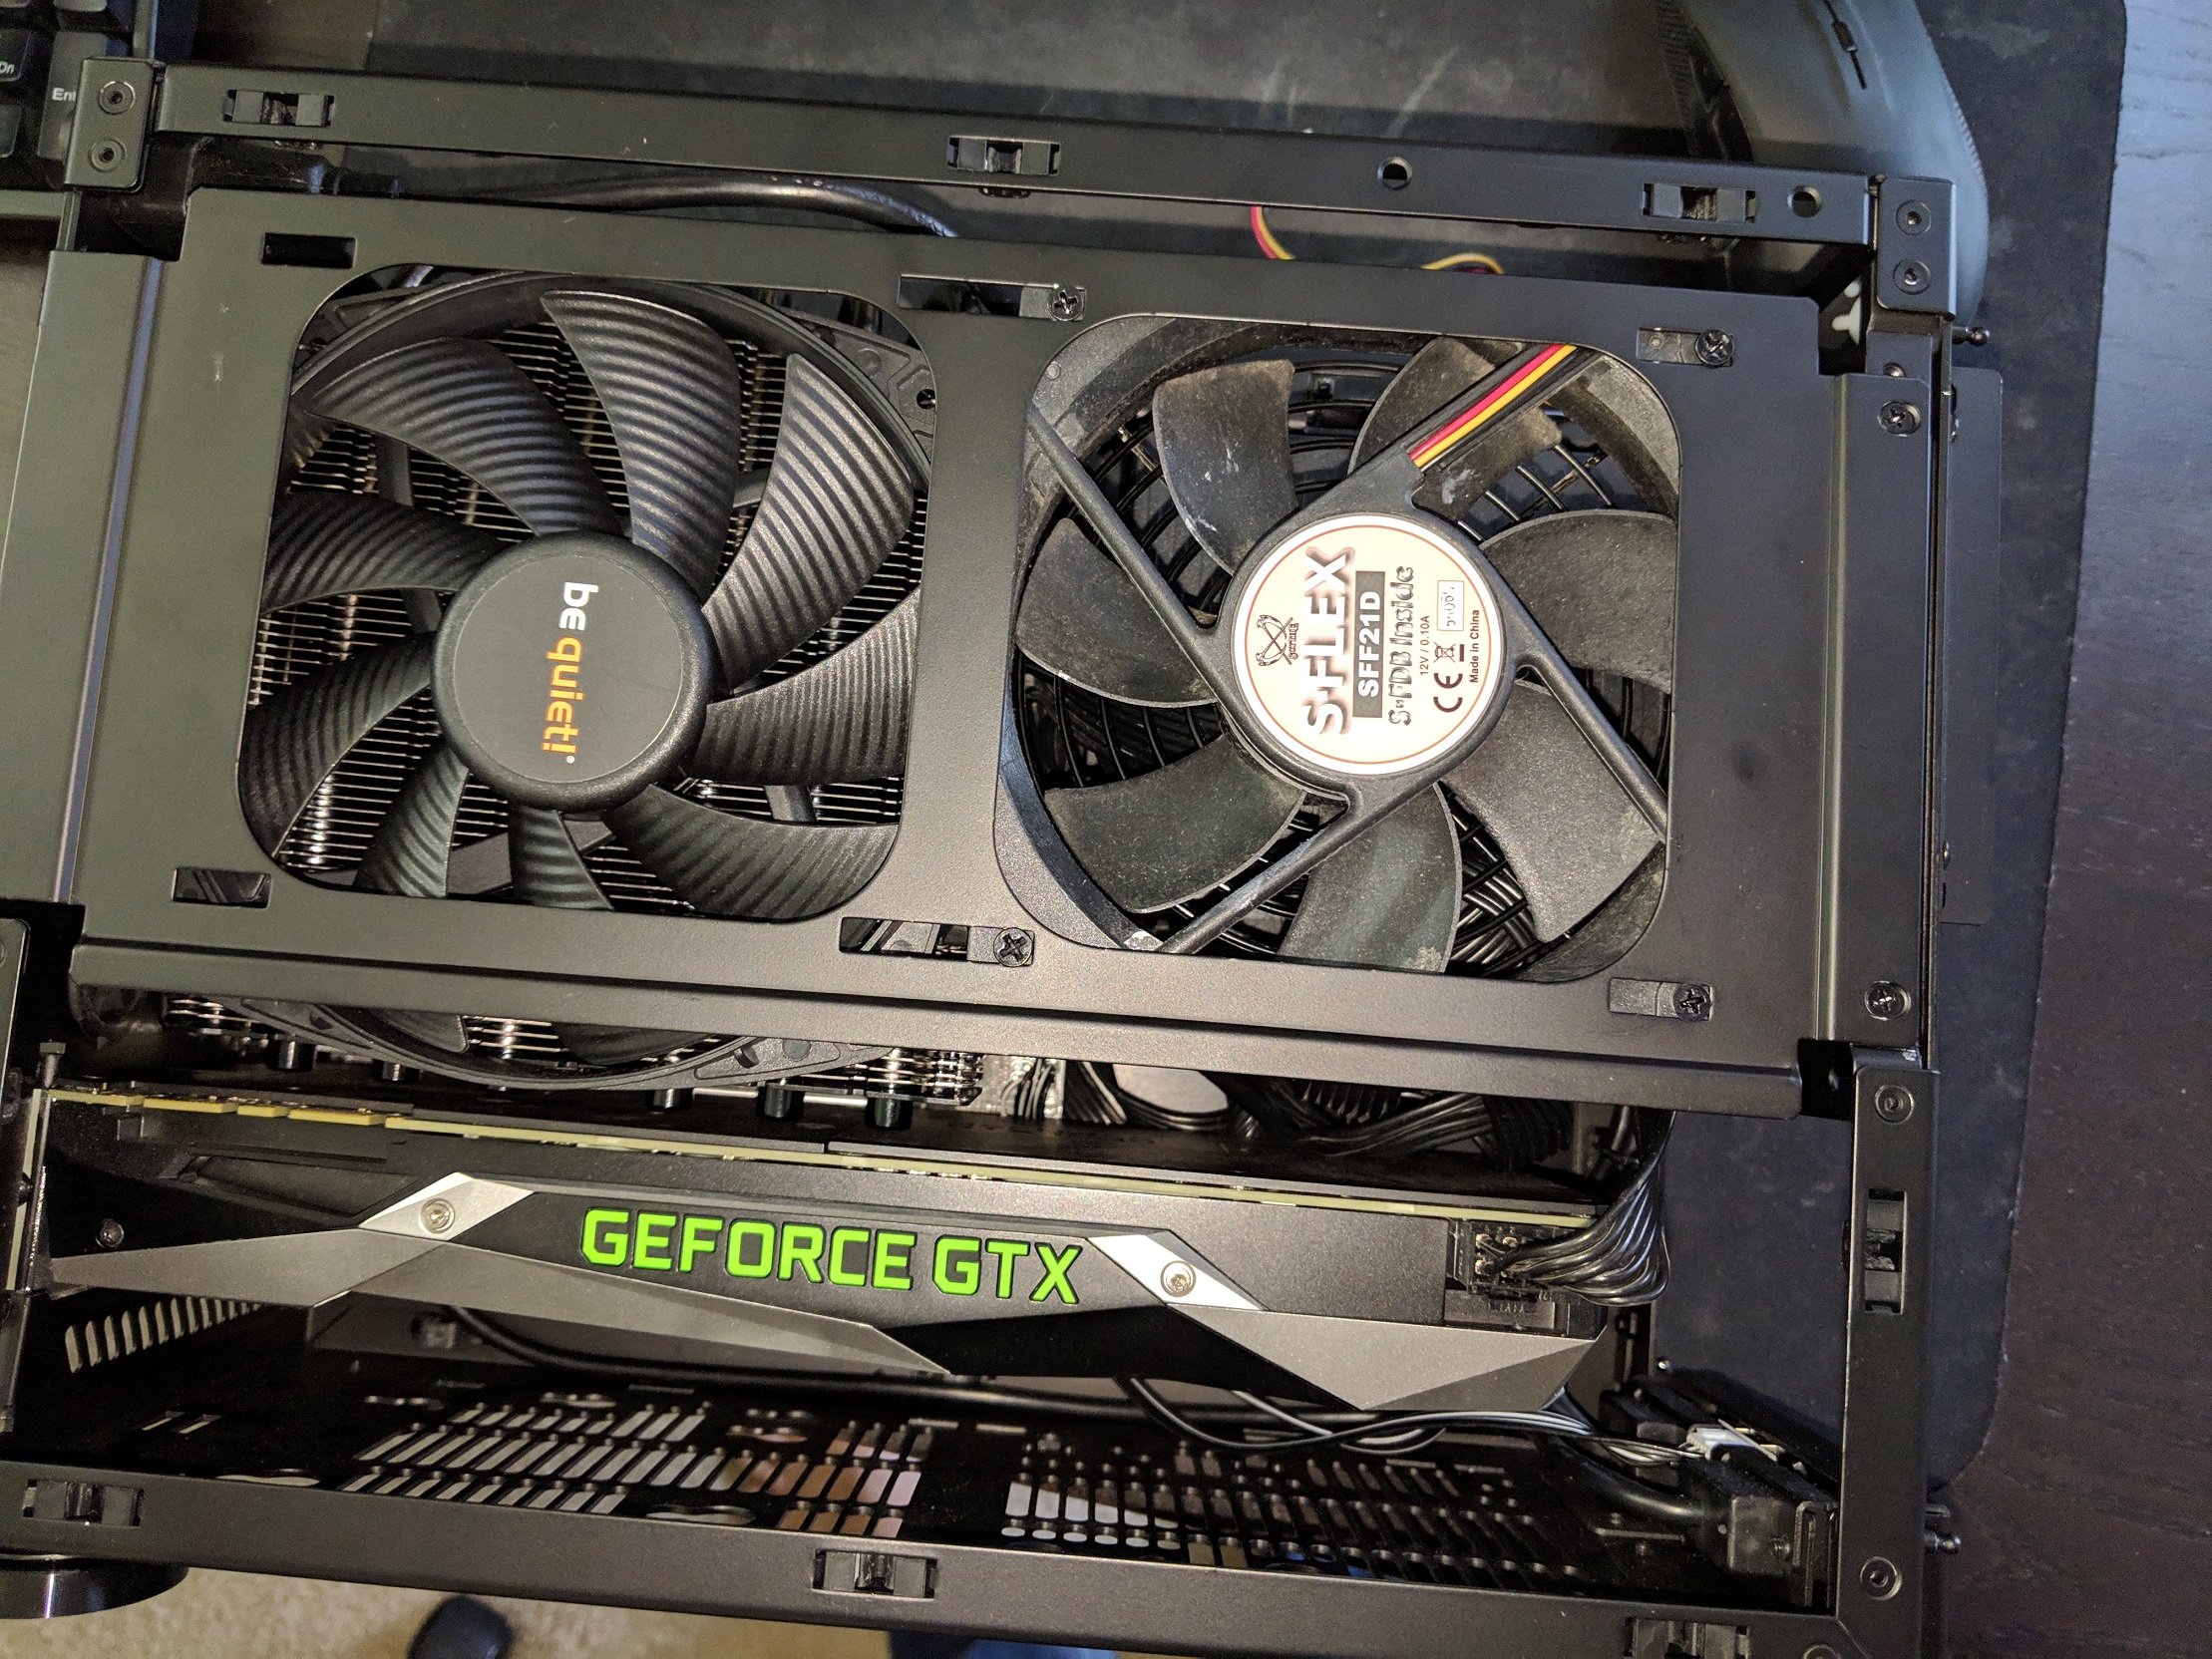
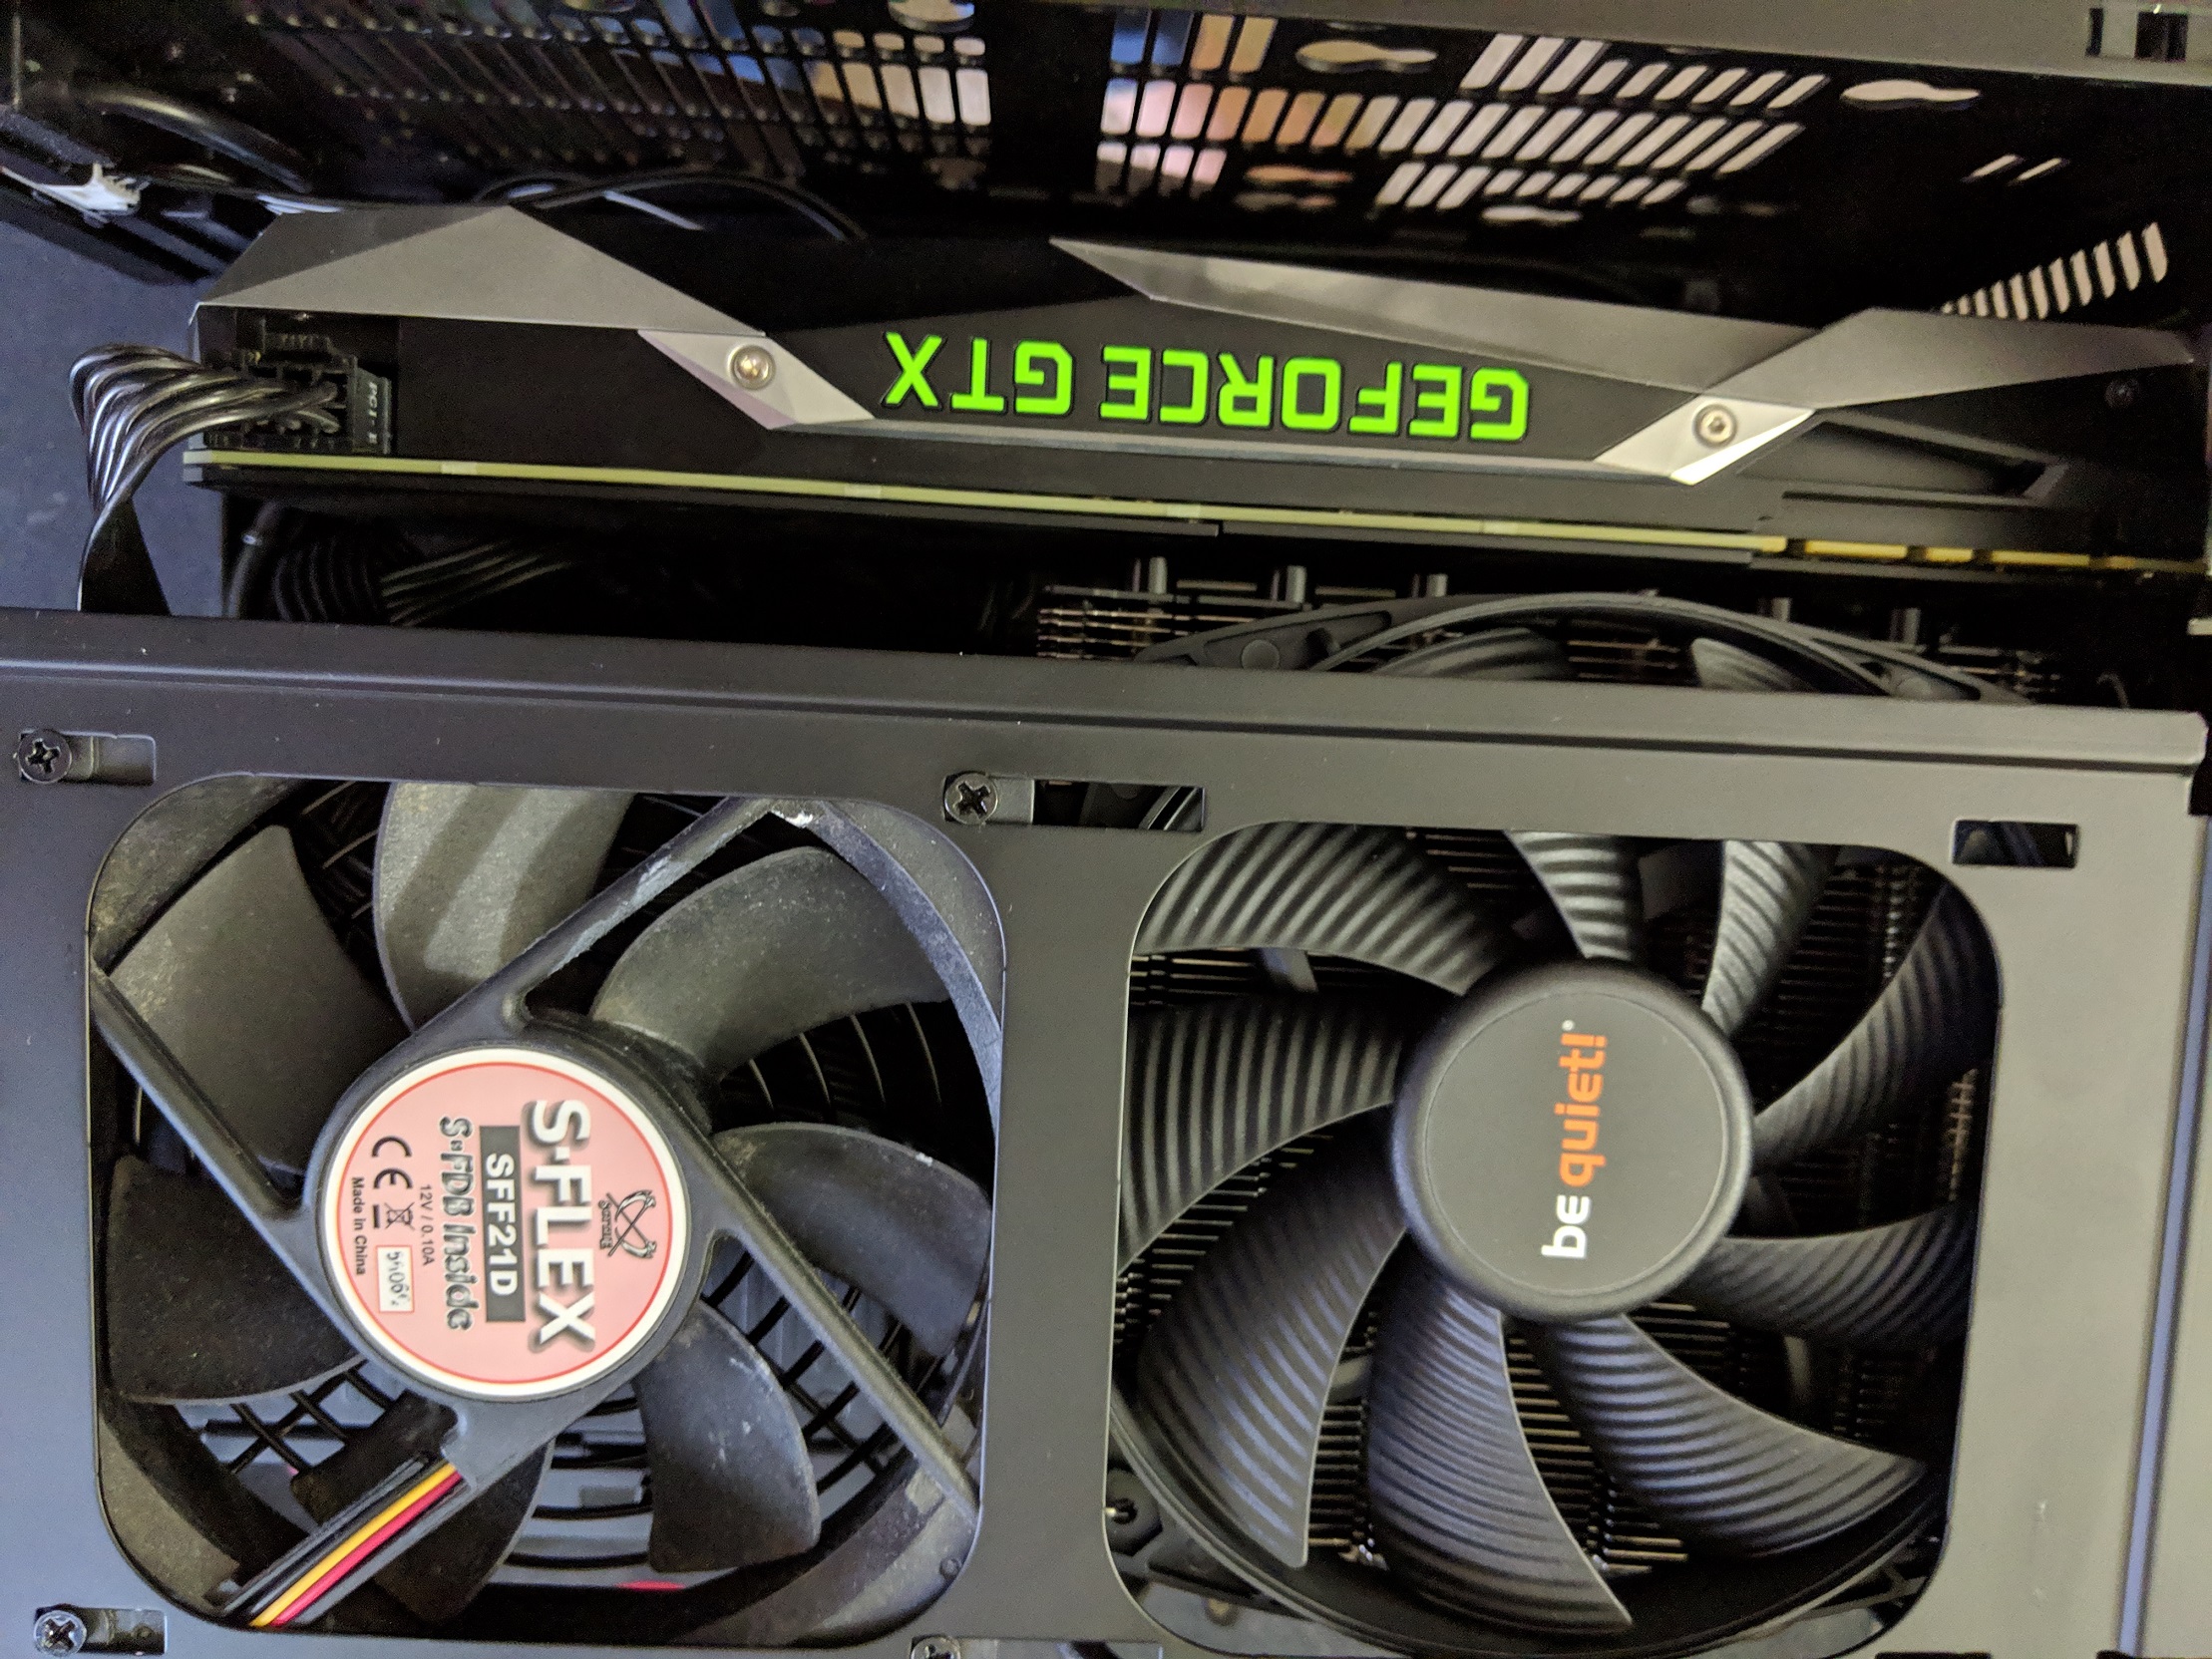
I just built my new rig, and the temps are solid. When running a stock blend test, I am getting about 70-75C. I could use more fans, I am only running the two on the cooler, and 1 120mm case fan.
ncase m1 v5
nvidia 1080 gtx FE
ADATA SX8200 PCIE NVME GEN3X4 m.2 2280 960GB ASX8200NP-960GT-C
ADATA XPG GAMMIX D10 16GB (2x8GB) DDR4 3200 (PC4 21300) AX4U320038G16-DB10
ASRock Z390 PHANTOM GAMING-ITX/AC LGA 1151
Intel i9 9900k
be quiet! dark rock TF air cooler
Corsair SF600
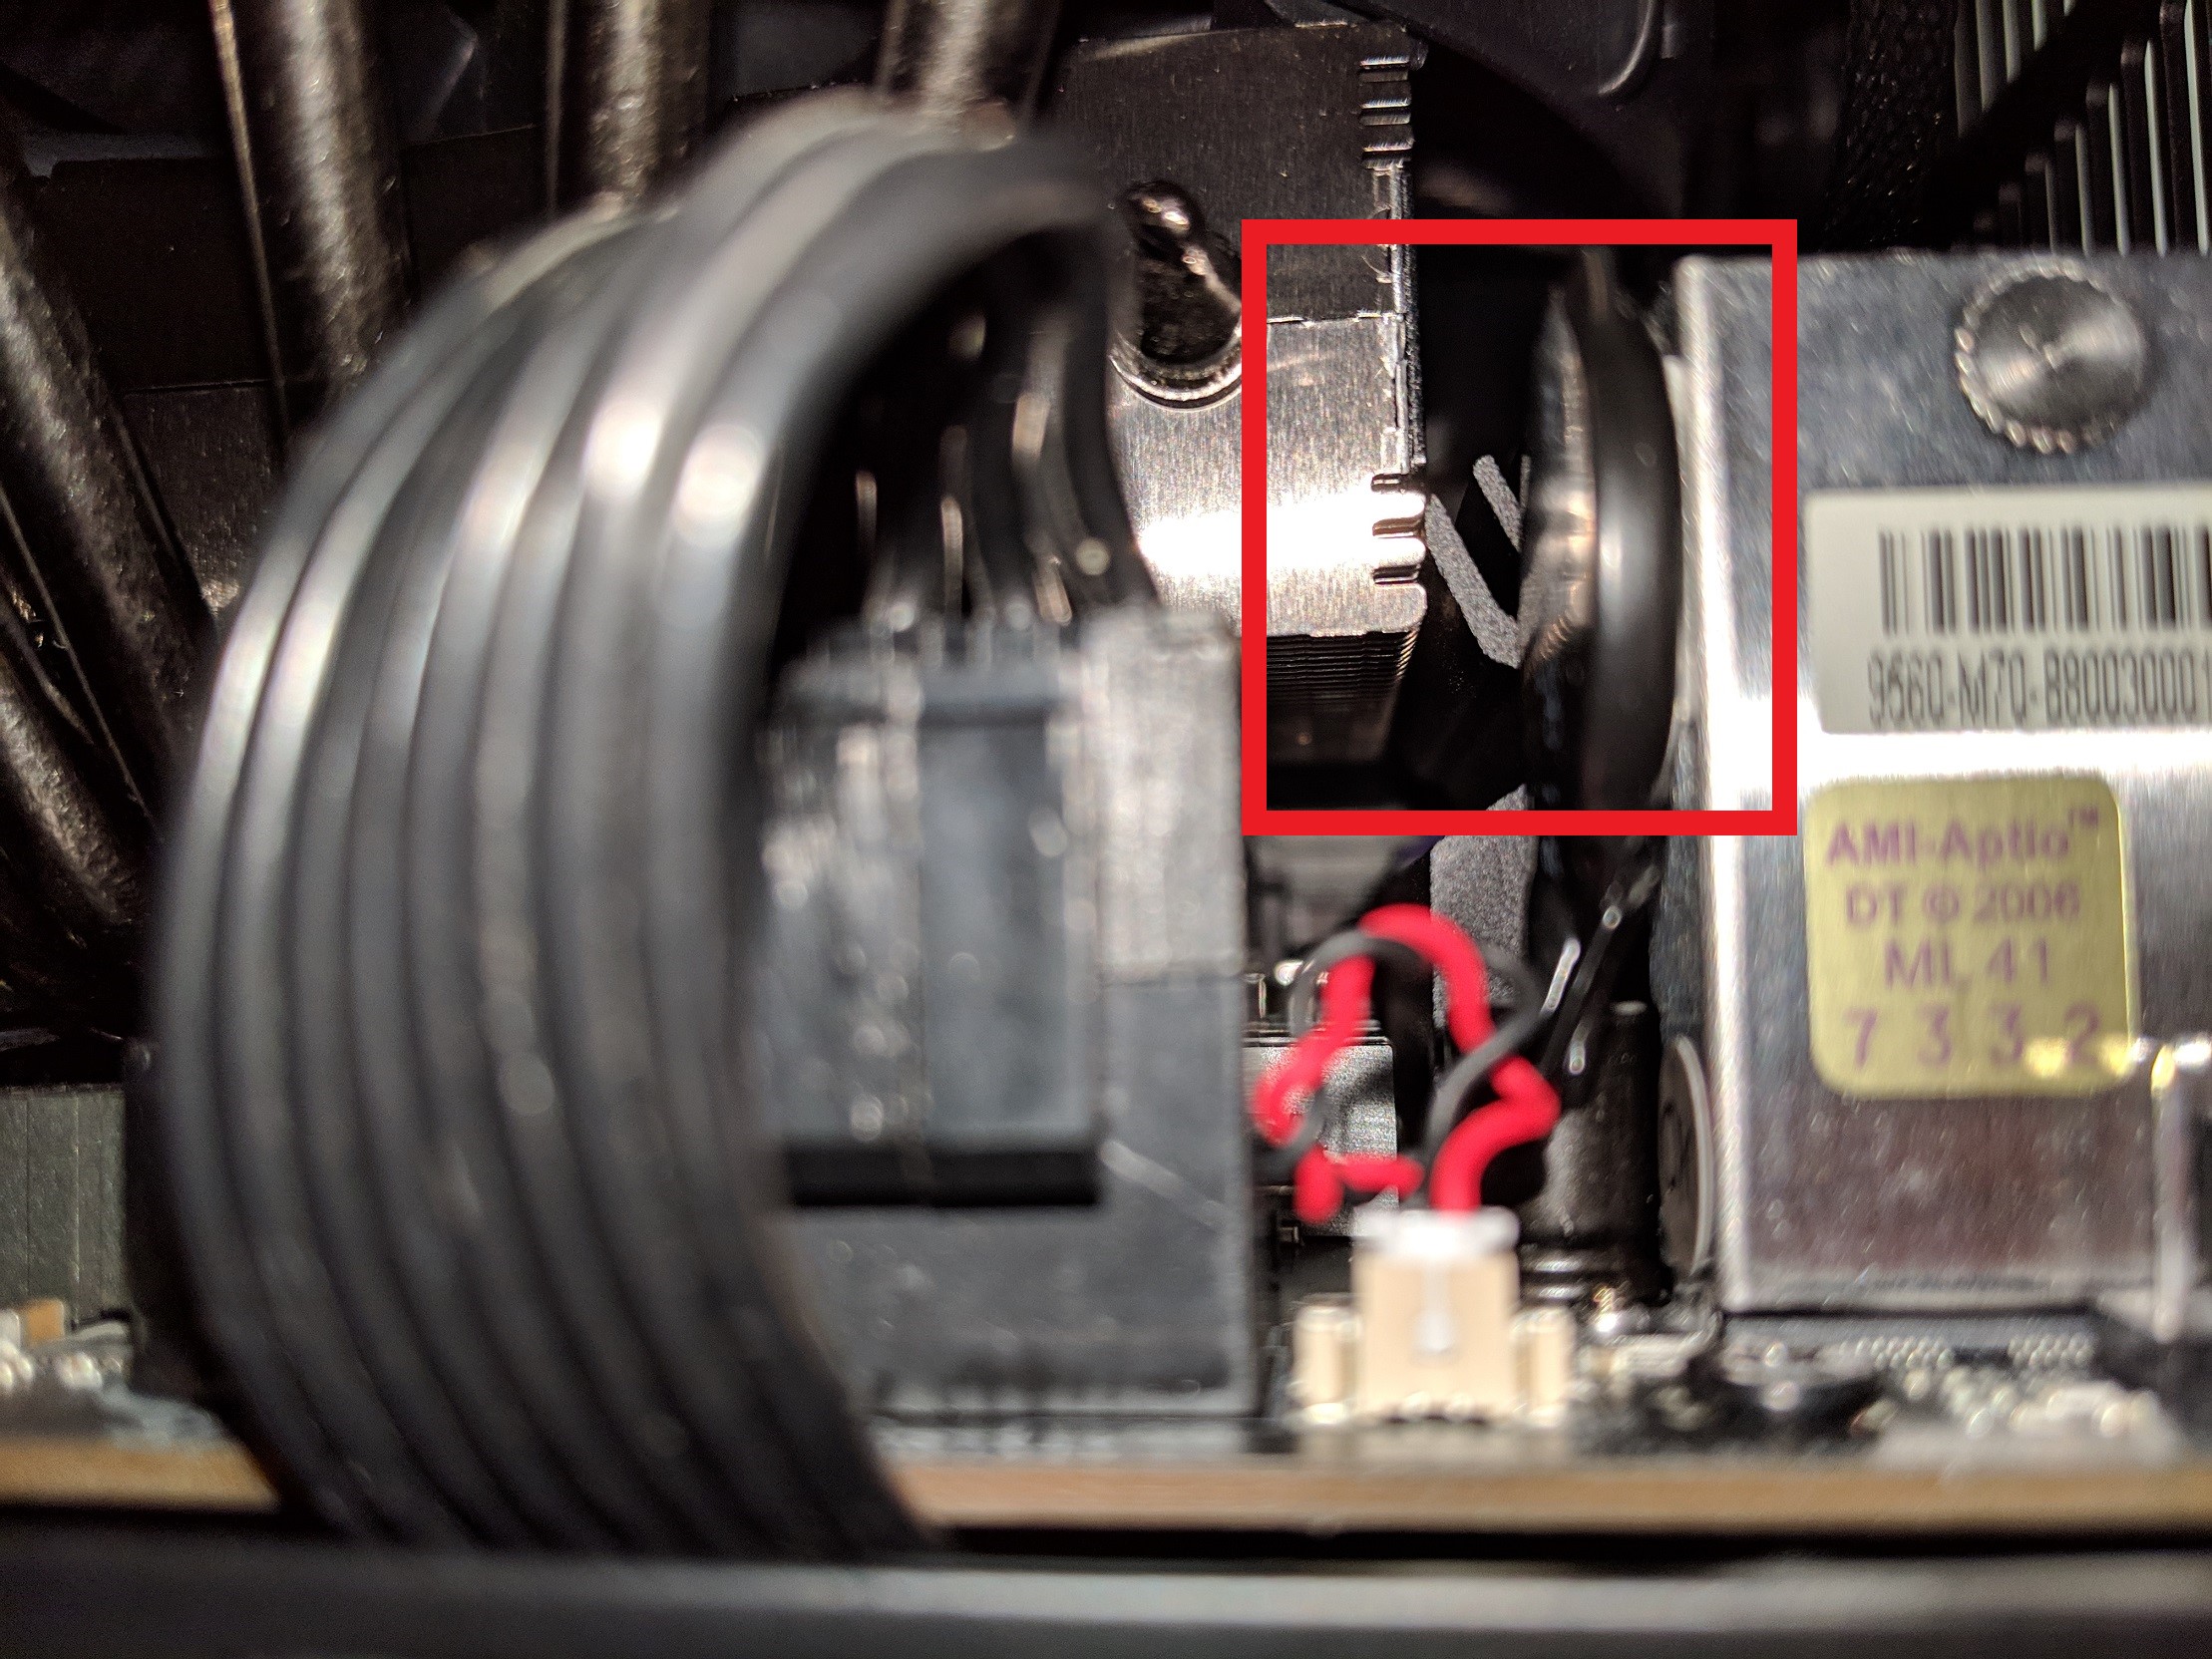
The only issue I had was some slight fitment with the be quiet cooler. I made zero alterations, but you can see it’s definitly a little tight with the Ram, as it’s pushing it a smidge. Not enough to worry me though. If I had lower profile sticks, it’d be fine.


I am using namesilo for my DNS, and they’ve got a solid little API system for stuff you can do to modify your DNS entries. So I use it as a poor mans dynamic DNS at home. For whatever reason though, their rrid changes every time you do an update, so you need to modify the URL to include the new rrid, which you pull from a dnsupdate api call. Thanks to a coworkers python skills, he wrote me this up, works great. Will only run the API call to update if the IP has changed. There are few things you must change for your own information though, and that is:
DOMAIN.TLDS (example: swamp.xyz) – there are 4 places to change this, line 11, 31, 32, and 43.
APIKEY (you get this from namesilo when you generate your API key) – there are two spots to change this, in line 11 and 43.
SUBDOMAIN (example: va) – there are two spots to change this: line 11 and 43.
SUB.DOMAIN.TLDS (example: va.swamp.xyz) – there are 3 spots to change this, line 30,31, and 32.
#send request to URL
new = requests.get(new_URL)

#print the xml reply, this doesn't need to be pretty
print(new.content)#Must install requests package if you don't have items
# pip install requests

import requests
import xml.etree.ElementTree as ET

RECORD_IP_ADDRESS_URL = 'https://www.namesilo.com/api/dnsListRecords?version=1&type=xml&key=xxxxxxxxxxxxxxxxxxx&domain=swamp.xyz'
CURRENT_IP_ADDRESS_URL = 'http://whatismyip.akamai.com/'

#get current IP address from CURRENT_IP_ADDRESS_URL
current = requests.get(CURRENT_IP_ADDRESS_URL).content

print('Current IP address from akamai: %s' % current)
#read xml file
r = requests.get(RECORD_IP_ADDRESS_URL, allow_redirects=True)

xml = ET.fromstring(r.content)

#begin parsing xml for correct host (swamp.xyz)
for record in xml.iter('resource_record'):
#read host, value, and record_id from current record in xml
host = record.find('host').text
value = record.find('value').text
record_id = record.find('record_id').text

#if host is va.swamp.xyz, process further
if (host == 'va.swamp.xyz'):
print('va.swamp.xyz record IP address: %s' % value)

#if record IP address matches CURRENT_IP_ADDRESS_URL, do nothing
if (value == current):
print('Current IP address matches namesilo record')

#IP addresses don't match, let's update it
else:
print('IP addresses do not match, generating URL to update')

#place the record_id in the url
new_URL = 'https://www.namesilo.com/api/dnsUpdateRecord?version=1&type=xml&key=xxxxxxxxxxxxxxxxxxxxx&domain=swamp.xyz&rrid='+record_id+'&rrhost=va&rrvalue='+current+'&rrttl=3600'
print(new_URL)

#send request to URL
new = requests.get(new_URL)

#print the xml reply, this doesn't need to be pretty
print(new.content)
Now if you are like me, and use pfsense, you have to install a module, which you can do by running these commands in shell:
python2.7 -m ensurepip
python2.7 -m pip install requests
python2.7 -m pip install –upgrade pip
Once you run that, chmod +x your .py script and you are good to go to add the script to a cronjob. I added it via the pfsense cron gui:
*/5 * * * * root /usr/local/bin/python2.7 /usr/local/namesilo_update.py
Do make sure it’s in a directory you can run as the user, and modify permissions to make sure.
Do you have a windows server running openvpn, and your plex server at home? If you ever wanted the ability to have plex work local, vice over the internet and back in while you are at home, it’s pretty simple. This will work on any client side openvpn config file. You just need to add this one route in the config file:
route plex.tv 255.255.255.0 192.168.1.1
replace 192.168.1.1 with whatever your router IP address is, boom, problem solved. There used to be a few other domains you have to route, and some IP addresses you had to keep track of, but now plex made it easy, just plex.tv works. I had the issue where anytime I had openvpn running and connected on this server, my tablet connected on the same subnet would try to route traffic for my plex application over the internet. When I went to play a video it would say “you are not direct connected, do you want to play this file still”? This resolved it, and running a tcpdump on my firewall, I see the traffic is not leaving, huzzah!
I kept getting these errors when I would log into my older idrac 6 cards. You can fixing it by putting IE11 into compatability mode, but I also found it easier to update the idrac to the latest 2.91 version. These were the errors I was getting:
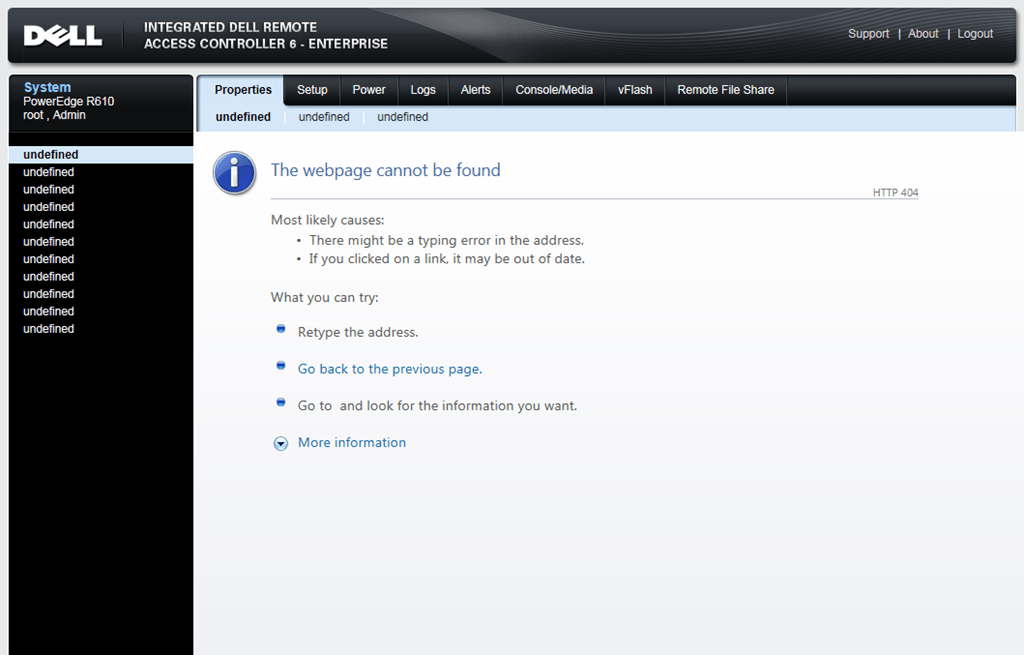
I updated one as far back as 1.43 to this version, no middle version required. Enjoy! I pulled these files right off of dells website. The only file you need to upload is the firming.d6. It was taken out of the ESM_Firmware_MXKG2_WN32_2.91_A00.EXE.
Dell iDRAC Monolithic Release 2.91
http://vivithemage.com/extra/Dell-11G/firmimg.d6
If you want to use the virutal console, you will probably have to switch from native to JAVA, as native was not working for me in my old firefox version, or IE11, even with compatibility enabled.
I had this issue updating my older R410, R610, and R710 servers the other day. You can still update idrac 6 via idrac, but they have since decomissioned ftp.dell.com as the repo for the lifecycle controller for some lame reason, see:
“Due to LC memory limitations only in 11G servers, Dell Engineering had to remove all 11G firmware and BIOS Dell Update Packages (DUPs) from the LC Catalog. The change was necessary due to the LC Catalog’s growing size, as it also added BIOS and firmware versions for 12G, 13G, and 14G servers being introduced.”
Luckily they made a work around that can be found here:
https://www.dell.com/support/article/us/en/04/sln310452/lifecycle-controller-lc-firmware-update-error-no-update-is-available-on-any-11g-server?lang=en
If that no longer works, here is a snippet of it:
Lifecycle Controller (LC) Firmware Update error “No update is available” on any 11G server
No update is available. Make sure that the Windows(R) catalog and Dell(TM) Update Packages for Windows(R) are used.
This is working as designed as of March 2018. Due to LC memory limitations only in 11G servers, Dell Engineering had to remove all 11G firmware and BIOS Dell Update Packages (DUPs) from the LC Catalog. The change was necessary due to the LC Catalog’s growing size, as it also added BIOS and firmware versions for 12G, 13G, and 14G servers being introduced.
Note that LC Firmware Update continues to work normally with all 12G – 14G servers. Catalog-based tools that can update 11G firmware such as OpenManage Essentials (OME) or System Center Updates Publisher (SCUP) will also still identify and push applicable 11G updates, since they can push and run DUPs “in-band” on the target host’s operating system, which has no memory limitations like LC.
To ensure the BIOS and firmware for your 11G servers are kept up-to-date, the suggested workaround is to use Dell Repository Manager (DRM) (I also got a copy of DRMInstaller_3.0.1.423.exe just in case that take it down, which you can get here: http://vivithemage.com/extra/Dell-11G/) to select the applicable 11G server models and then export a smaller custom Catalog that 11G LC can process. DRM can either:
Export both the custom Catalog.xml catalog and various DUP packages to an ISO image or directory intended to be stored on a file share that LC can access.
Export just the custom Catalog.xml file, which by default still points LC Update online to ftp.dell.com, making it unecessary to download all applicable DUPs to a local site.
Follow the steps below to export the custom Catalog in DRM:
In the main DRM homepage, click the “Add Repository” button.
Give the repository a name and choose the newest dated “Enterprise Server Catalog” in the “Base Catalog” menu.
Select the “Manual” tab and then click the “Custom” button under “Select Systems,” then click “Choose Systems.”
Only select “PowerEdge” in the “Line of Business” menu, and then click on each applicable 11G server model to move it into the “Selected Systems” list.
Click “Save” to return.
Click the “Custom” button under “Operating Systems,” then the “Choose” button.
Under the “Operating Systems” menu, choose only “Windows-32” and no other OSs.
IMPORTANT: A custom LC catalog can only list either Windows 32-bit or 64-bit DUPs, not both. All applicable 11G firmware and BIOS updates are still in the Windows 32-bit format, unlike newer server models. Do not choose Linux as 11G cannot process the Linux DUP format.
Click “Windows Server 2008 X64” to add to the “Selected Operating Systems” list, then click “Save.”
Under the “Components” section, simply choose “All component types” then click “Add.”
Once the new repository is added to the main DRM homepage, check its box and click the “Export” button.
There are several export formats available. Choosing “SUU ISO” exports the Catalog to an image file that LC Update can load via local or iDRAC virtual media. Otherwise, if you intend to mount the custom catalog in LC from a remote file share, choose the “Share” tab and then click “Browse” to specify a local directory path to save the Catalog.xml file and (optionally) all of the downloaded DUPs.
If the target hosts are intended to each connect online directly to ftp.dell.com, then check “Export only catalog.” Otherwise all Windows 32-bit DUPs applicable to the selected 11G server models will also be downloaded to the same local directory. This could make the directory large in size depending on how many DUPs are applicable.
Copy the directory containing the Catalog.xml file (and possible DUPs) to the intended file share server.
Once booted into LC Firmware Update, choose the appropriate file share protocol (FTP, CIFS, etc.) to connect to the remote file share containing Catalog.xml.
Quick Tips content is self-published by the Dell Support Professionals who resolve issues daily. In order to achieve a speedy publication, Quick Tips may represent only partial solutions or work-arounds that are still in development or pending further proof of successfully resolving an issue. As such Quick Tips have not been reviewed, validated or approved by Dell and should be used with appropriate caution. Dell shall not be liable for any loss, including but not limited to loss of data, loss of profit or loss of revenue, which customers may incur by following any procedure or advice set out in the Quick Tips.
I wanted to enable IP masquerading/forwarding on CentOS 7.5, but for some reason, the typical method was not working. My clients could connect, but no traffic was passing beyond the VPS, and on to the internet. I was pretty sure it was my firewall masquerade rule was acting up, but no. It ended up being the kernel routing that you typically set in /etc/sysctl.conf as
net.ipv4.ip_forward = 1 I also tried net.ipv4.conf.default.forwarding = 1
I ended up needing to use the new method, which was actually in the top comment section of the sysctl.conf file. Which refernces using /usr/lib/sysctl.d/50-default.conf
add this line to the bottom of that file: net.ipv4.ip_forward = 1
Reboot, problem solved, started routing traffic outside of the VM.
I opted to drop a 4th 8TB WD RED in my raid 5 array on my HP Microserver Gen8. It has a P222 raid card in it running the latest, as of today firmware: 8.32. I had the server running for about 2 years in it’s current configuration, with no issues, but I wanted a little more disk. If I had more slots, I would have opted for a raid 10, but I wanted smaller footprint, so this is what I am working with.
So far the transform has been about 36 hours, and running:
/opt/smartstorageadmin/ssacli/bin/ssacli ctrl slot=1 ld 1 show
in ESX 6.7, I am at 40%, oooofta. I imagine rebuilds with these large disks would be just as painful. Good news though, Unrecoverable Media Errors is 0.
MAKE SURE YOU HAVE BACKUPS, AND THAT YOU TEST SAID BACKUPS!!
MAKE SURE YOU HAVE BACKUPS, AND THAT YOU TEST SAID BACKUPS!!
Also make backups before you toy around with your raid, I have backups if this goes south, but always have backups.
Did I mention, HAVE BACKUPS AND TEST SAID BACKUPS!!