1- Close the LGS (Right click the icon on task bar and select exit)
2- Go to my computer – Windows – Program Files – Logitech Gaming Software – Resources – G930 – Manifest
3- Right click “Device_Manifest” and select edit
4- Look for battery turnOffInterval=”900″ and change the value to “0”
5- Save the file to desktop
6- Copy the file from desktop to My computer – Windows – Program Files – Logitech Gaming Software – Resources – G930 – Manifest
7- Make sure you replace the file
8- Restart the computer
9- The issue should be solved.
Categories
AT LOTTO 7
NOTE: This is not endorsed by Anandtech, they have no legal obligations in this if I decide to screw you all over or something.
RULES :
BUY IN = $10
In the past some have put in more money, but let it be known, if we win, we will still all get an equal share. But we will all thank you greatly for the extra contribution, and I will let it be known who was nice enough to bump it up (if you so wish, or I can keep it anonymous).
DEADLINE: Today Wed Jan 13, 2016
10AM Pacific
11AM Mountain
12PM Central
1PM Eastern
EXAMPLE WINNING SCENARIO:
We win $250,000, 50 people bought in, we split $250,000 – tax cut / 50. We will be doing a lump payout, and we will use some of the funds to have a lawyer do the divvy process, to try and levvy as much tax saving as we can. I am thinking I take the tax cut (Minnesota), and say we’re an anonymous group of friends who won. I will then divide it up how you like … I can mail a check, cash, MO, etc, will let the lawyer make the decision for us. We have options, but like I said, let’s not worry about it until we win 🙂
or split it pretax and you collect yourself and pay your taxes. If I recall someone said that was an option.
STEP 1 :
send $10 via venmo (preferred), google wallet, or Amazon Gift card, IF YOU SEND AS CC, ADD 3%:
Venmo address: done
Google wallet: done
Amazon GC: I already got a lot of GC, would rather have more cash to pull out come Wed, unless someone can really only send Amazon GC then you can use done
If you have heatware, I could also do a MO/cash/check, but email me first for my address.
STEP 2 :
Fill this quick form out :
https://docs.google.com/forms/d/1tMYxfSyH7OOcZm2Qk52XpGFhUpJX6-krFMWn1jBNZ6I/viewform?usp=send_form
This way I can keep track of everyone two fold, and then send a quick email once I get the actual tickets and we can split up the data entry work as we did last time. I will also update this blog post.
UPDATE : 1-11-2016 2P CST
We are at about $300, or 30 people so far. I was also told the post will probably get removed, so spread the word via email, or PM…if anyone wants to hit me up via email, or PM they can.
UPDATE: 1-11-2016 3:06P CST
33 Users, or $330
My favorite comment so far:
“When we win and we are on vacation somewhere, I will rub some sun block on your back.”
update 1-12-2016 8A CST
We are at 57 users so far!
update 1-12-2016 11:55A
65 peeps so far.
quality jokes: “When we win I’ll finally get to do my LOTR remake with an all guinea pig cast.”
update 1-13-2016 8:47A
We are at 81 people, I will probably have to stop accepting around noon CST so I can go to the bank at lunch and find time this evening to grab all the tickets!
update 1-13-2016 12P
Final tally – 87, or $870 worth of tickets.
Closed up! I am going to grab the tickets shortly, will scan and post later tonight so we can start data entering.
I will also send a follow up email to everyone now, if you do not receive it by 1230P – 1P shoot me an email/pm so I can make sure I have your email.
This will be the PB entry form link + area to chat:
https://docs.google.com/spreadsheets/d/1boUuQLr4Rc9U4l6Bwg6F6hjdWXGvNKv3cq6u7C7T26Y/edit?usp=sharing
update 1-13-2016 12:15P
SnipeMasterJ13 snuck in at the last second, 88. I feel better with an even amount of people!
update 1-13-2016 1:15P
a little tease before I get home to scan them all
update 1-13-2016 6:45P
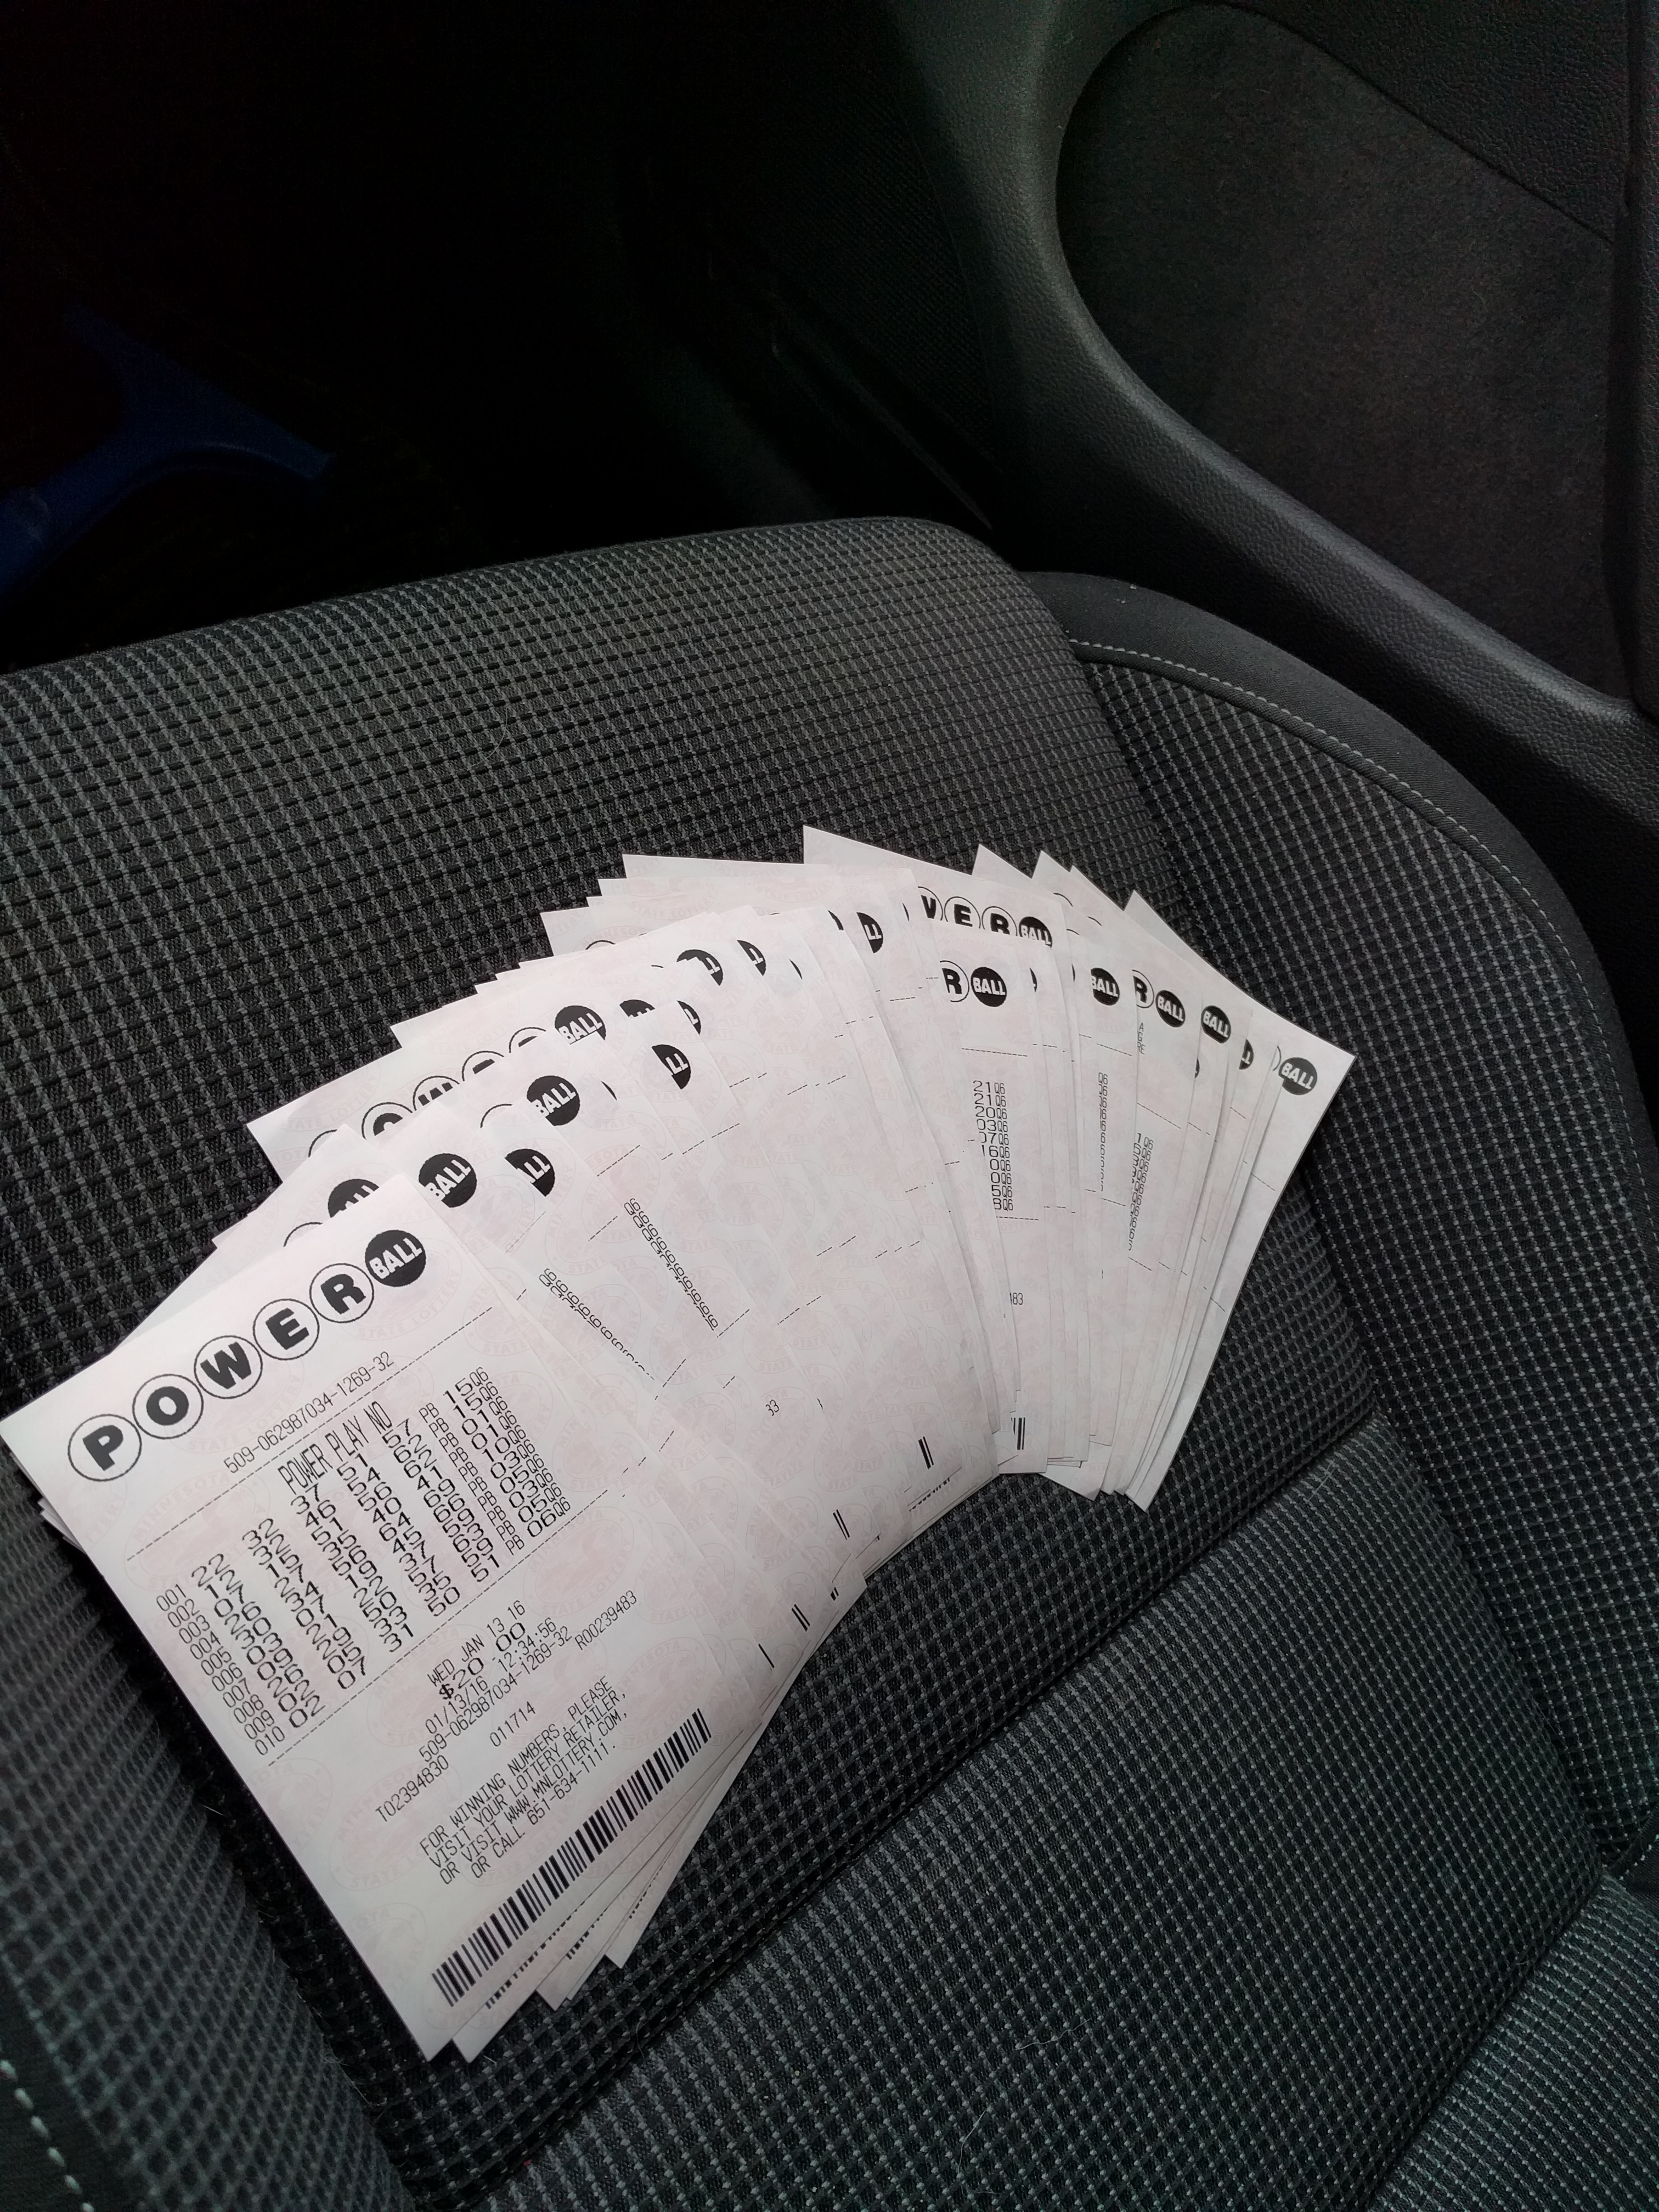
I uploaded pictures. I got a new camera, which seemed to take high enough quality it all showed up in 4 pictures:
http://langeeks.net/etc/ATLotto7/
This should make it MUCH easier. In the top left of the ticket is a number, just go to the left of this document:
https://docs.google.com/spreadsheets/d/1boUuQLr4Rc9U4l6Bwg6F6hjdWXGvNKv3cq6u7C7T26Y/edit?usp=sharing
And enter them in the 10 corresponding lines! I’ll dump it in my excel document that will calculate what we win so it does the math. The google Doc removes the math.
If anyone else wants to see, here’s the template I was given back in 2012 when we started courtesy of Ryan P.
update 1-13-2016 10:22P
We got $44! So far looks like a winner was in Cali.
If a Windows 7 machine cannot add a printer because of a 0x0000007e error: Delete BIDI registry key (on server) from
HKEY_LOCAL_MACHINE\SYSTEM\CurrentControlSet\Control\Print\Printers\
Sometimes the print spooler needs to be restarted.
I had to run a powershell module that I found remotely to remove some pinned applications in Windows 7. I also wanted it to run remotely, and not have to log on to each PC to do so. To kick off a powershell script, I had to add this to a command file:
REM KICK OFF POWERSHELL STUFF

xcopy "\\domain.com\software\Non-Licensed\scripts\kiosk\Set-PinnedApplications.psm1" C:\temp\

powershell "Set-ExecutionPolicy Unrestricted"

powershell \\domain.com\software\Non-Licensed\scripts\kiosk\Remove_Taskbar_Shortcuts.ps1
The .ps1 file leads to this:
Import-Module C:\temp\Set-PinnedApplications.psm1

Set-PinnedApplication -Action UnPinFromTaskBar -FilePath "C:\Users\kiosk\AppData\Roaming\Microsoft\Internet Explorer\Quick Launch\User Pinned\TaskBar\Internet Explorer.lnk"

Set-PinnedApplication -Action UnPinFromTaskBar -FilePath "C:\Users\kiosk\AppData\Roaming\Microsoft\Internet Explorer\Quick Launch\User Pinned\TaskBar\Windows Explorer.lnk"

Set-PinnedApplication -Action UnPinFromTaskBar -FilePath "C:\Users\kiosk\AppData\Roaming\Microsoft\Internet Explorer\Quick Launch\User Pinned\TaskBar\Windows Media Player.lnk"
So it allows me to remove the pinned applications. If you want to view the module (Set-PinnedApplications.psm1) I used off technet it is here:
https://gallery.technet.microsoft.com/scriptcenter/b66434f1-4b3f-4a94-8dc3-e406eb30b750
You would just copy that content into: Set-PinnedApplications.psm1
If you want to hide certain desktop icons via a bat file, you can use this. Just read the REM line to see which 4 registry adds will change a specific icon. I needed this to roll out to a couple hundred computers, versus logging on to them and disabling them individually.
REM hide Computer icon on the desktop

REG ADD "HKEY_CURRENT_USER\Software\Microsoft\Windows\CurrentVersion\Explorer\HideDesktopIcons\NewStartPanel" /v "{20D04FE0-3AEA-1069-A2D8-08002B30309D}" /t REG_DWORD /d 1 /f

REG ADD "HKEY_CURRENT_USER\Software\Microsoft\Windows\CurrentVersion\Explorer\HideDesktopIcons\ClassicStartMenu" /v "{20D04FE0-3AEA-1069-A2D8-08002B30309D}" /t REG_DWORD /d 1 /f

REM hide Control Panel icon on the desktop

REG ADD "HKEY_CURRENT_USER\Software\Microsoft\Windows\CurrentVersion\Explorer\HideDesktopIcons\NewStartPanel" /v "{5399E694-6CE5-4D6C-8FCE-1D8870FDCBA0}" /t REG_DWORD /d 1 /f

REG ADD "HKEY_CURRENT_USER\Software\Microsoft\Windows\CurrentVersion\Explorer\HideDesktopIcons\ClassicStartMenu" /v "{5399E694-6CE5-4D6C-8FCE-1D8870FDCBA0}" /t REG_DWORD /d 1 /f

REM hide User's Files icon on the desktop

REG ADD "HKEY_CURRENT_USER\Software\Microsoft\Windows\CurrentVersion\Explorer\HideDesktopIcons\NewStartPanel" /v "{59031a47-3f72-44a7-89c5-5595fe6b30ee}" /t REG_DWORD /d 1 /f

REG ADD "HKEY_CURRENT_USER\Software\Microsoft\Windows\CurrentVersion\Explorer\HideDesktopIcons\ClassicStartMenu" /v "{59031a47-3f72-44a7-89c5-5595fe6b30ee}" /t REG_DWORD /d 1 /f

REM hide Network icon on the desktop

REG ADD "HKEY_CURRENT_USER\Software\Microsoft\Windows\CurrentVersion\Explorer\HideDesktopIcons\NewStartPanel" /v "{F02C1A0D-BE21-4350-88B0-7367FC96EF3C}" /t REG_DWORD /d 1 /f

REG ADD "HKEY_CURRENT_USER\Software\Microsoft\Windows\CurrentVersion\Explorer\HideDesktopIcons\ClassicStartMenu" /v "{F02C1A0D-BE21-4350-88B0-7367FC96EF3C}" /t REG_DWORD /d 1 /f

REM hide recycle bin from desktop

REG ADD "HKEY_CURRENT_USER\Software\Microsoft\Windows\CurrentVersion\Explorer\HideDesktopIcons\NewStartPanel" /v "{645FF040-5081-101B-9F08-00AA002F954E}" /t REG_DWORD /d 1 /f

REG ADD "HKEY_CURRENT_USER\Software\Microsoft\Windows\CurrentVersion\Explorer\HideDesktopIcons\ClassicStartMenu" /v "{645FF040-5081-101B-9F08-00AA002F954E}" /t REG_DWORD /d 1 /f

REM hide libraries icon from the desktop

REG ADD "HKEY_CURRENT_USER\Software\Microsoft\Windows\CurrentVersion\Explorer\HideDesktopIcons\NewStartPanel" /v "{031E4825-7B94-4DC3-B131-E946B44C8DD5}" /t REG_DWORD /d 1 /f

REG ADD "HKEY_CURRENT_USER\Software\Microsoft\Windows\CurrentVersion\Explorer\HideDesktopIcons\ClassicStartMenu" /v "{031E4825-7B94-4DC3-B131-E946B44C8DD5}" /t REG_DWORD /d 1 /f
I needed a way to audit file deletions on our Windows 2008 R2 Server, but didn’t need to make pretty reports for our C levels, it was just for techs to track down who deleted what. So I used the built in Windows File Audit with GPO.
We also have about 1800 people who use this share, so we had to keep a watchful eye on how many logs were generated, and then script out deletions after a certain period, we chose 14 days is about how far back we want to retain.
Task 1 was to enable the GPO for the server to start actually recording the file deletions in Event Viewer.
Following this guide: http://www.morgantechspace.com/2013/11/Enable-File-System-Auditing-in-Windows.html
You can enable the GPO to start actually logging the deletions attempts.
Task 2 was to separate the security logs into it’s own directory, for easy pruning.
I then had to go to the file server and enable this: http://blogs.technet.com/b/askds/archive/2009/08/04/tracking-a-remote-file-deletion-back-to-the-source.aspx
So that I can start logging. You are essentially enabled file auditing. I only chose to enable the Success of file deletions, nothing else, as that was all the data I want logged.
Task 3 was to script automated deletions of the evtx files after 14 days of age.
I wrote this to do my automated deletions. You will make a cmd, or bat file on your desktop with these contents:
REM Remove Security older than 14 days

forfiles /p "C:\Windows\System32\winevt\Logs\Security" /s /m *.* /c "cmd /c Del @path" /d -14
You can adjust the 14 days to be whatever you like. Then add it to task schedule to automate and run once a day.
Task 4 was to find a way to prune through 2-3GB of evtx files easily.
SOURCE: https://martin77s.wordpress.com/2010/01/16/evtlogparser/
You will need to install LogParser.msi first.
Then run EVTLOGPARSER.EXE – it is portable after the LogParser.msi is installed.
You can then add the security directory directly: \\SERVERNAME\c$\Windows\System32\winevt\Logs\Security
and query eventid 4663 AND/OR under message, search for your file deleted, partials should work.
Out of the blue, my start -> search stopped functioning, it would just be blank.
I reinstalled Cortana using the following procedure:
Open an elevated Command Prompt window (press win + X, and then press A)
Type start powershell and press enter
Run the command (in one line):
Get-AppXPackage -Name Microsoft.Windows.Cortana | Foreach {Add-AppxPackage -DisableDevelopmentMode -Register “$($_.InstallLocation)\AppXManifest.xml”}
After 30 seconds the problem was solved on my machine. Incredible.
Source: http://answers.microsoft.com/en-us/windows/forum/windows_10-win_cortana/cortana-not-finding-desktop-apps-when-searching/f612e995-6664-4b91-b6ae-96790e763858
I wanted to update the UPN or User Principal Names in our AD, as we had a couple thousand users that had been in our AD for over 10 years, in the NT days. So they were created without UPN’s.
This will print out the list of users and output it to a file so you can review who will be changed. We did not want to change the admin users so I added a notlike clause.
get-aduser -Filter * -SearchBase ‘CN=Users,dc=vivithemage,dc=com’ | where {($_.userprincipalname -eq $null) -and ($_.name -notlike “*admin*”)} | format-table samaccountname,givenname,surname | Out-File c:\test\UPN-prechange2.txt
Reviewed the list, looked good, so I can now run this to make the blanket change, while manually specifying the domain name:
get-aduser -Filter * -SearchBase ‘CN=Users,dc=vivithemage,dc=com’ | where {($_.userprincipalname -eq $null) -and ($_.name -notlike “*admin*”)} | foreach { Set-ADUser $_ -UserPrincipalName (“{0}@{1}” -f $_.name,”vivithemage.com”)}
Lots of help from this article: http://blogs.technet.com/b/heyscriptingguy/archive/2013/08/13/add-user-principal-names-in-active-directory-via-powershell.aspx
and ss64.com
Categories
How to get to Nexus 6P Recovery Mode
I wanted to wipe my cache partition via recovery, and this is what it took to get into recovery:
Power Down the Nexus 6P
Boot the Nexus 6P into Fastboot Mode
Once in Fastboot Mode, Press the volume Down Button Twice
This Should Highlight the ‘Recovery’ Option
When ‘Recovery’ is Highlighted, Press the Power Button to Select This Option
This Will Take You to a Black Screen with a Green Android Laying Down
From Here, Press and Hold the the Power Button, Then Press the Volume Up Button
When Done Right, You’ll Immediately be Taken to the Recovery Mode Menu
I wanted to use my rooted/unlocked nexus 6 on my companies Mobile Iron MDM, so I ended up having to relock and unroot. I still had issues with Mobile Iron saying my OS was comprimised. I went through a few apps, and it was still flagged. I contacted Mobile Iron and they said they had an application called root checker that tells you why it’s flagged.
This is the most recent as of today:
http://vivithemage.com/extra/RootCode.apk
You have to enable ‘Unknown Sources’ under Settings -> Peronsal Security -> Unknown Sources and install it.
Then you can run it and it will basically tell you what’s flagged.
update:
looks like this was being abused, I was contacted by mobile iron to remove this. I am guessing someone used this to skirt around the lockdown. tsk tsk!